
Setting up Outlook 2019
To use mail software, please get Tokyo Tech mail auth. ID on the Tokyo Tech Portal.-
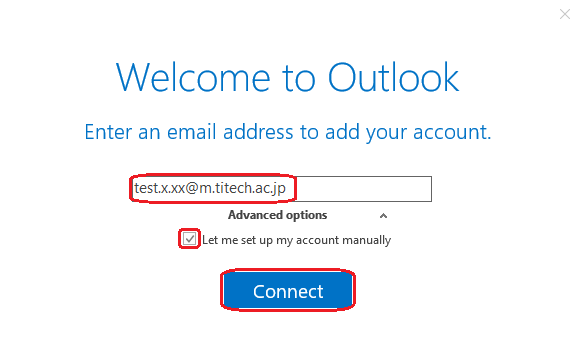
If you are running Outlook 2019 for the first time, you will see the screen below to enter your email address.
Open "Advanced options", then put a check mark to "Let me set up my account manually".
Then, click the "Connect" button.
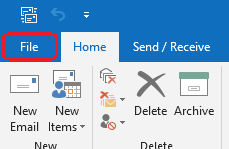
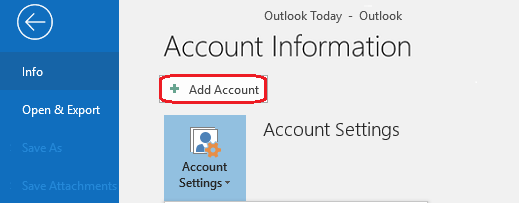
In case that the screen above doesn't appear, go to "File" and click the "Add Account" button to get a new account.
-
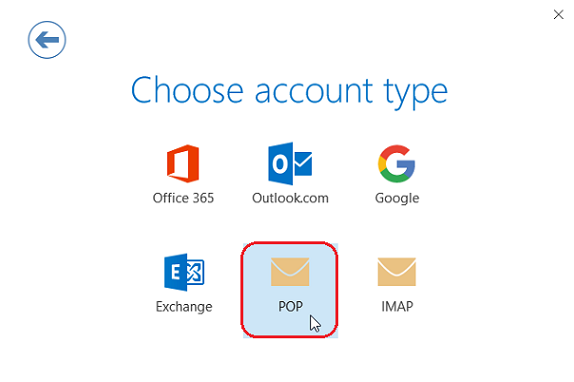
Choose account type, "POP" or "IMAP", which you wih to set up.
-
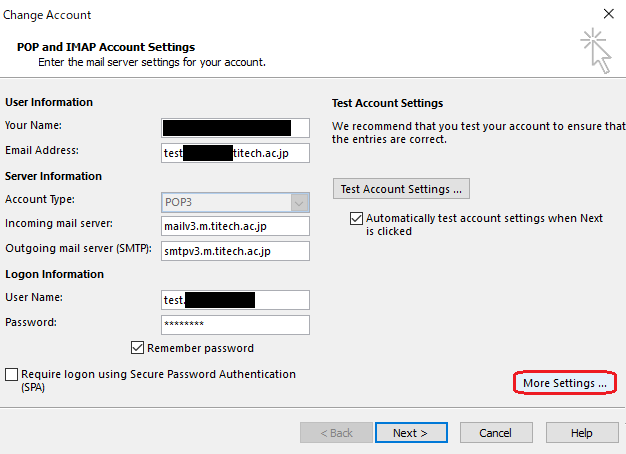
Enter the mail server settings for your account.
Make sure to refer to the setup's information below about "Incoming mail" and "Outgoing mail".
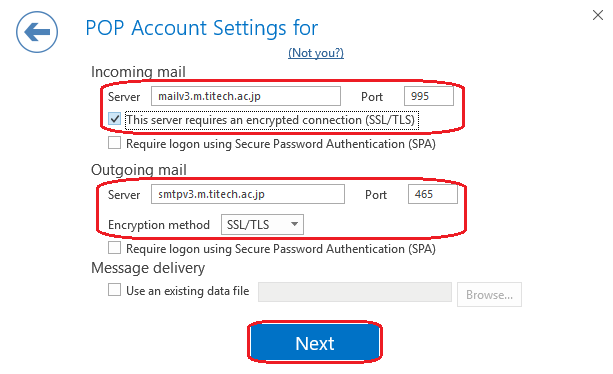
Incoming mail
Server "mailv3.m.titech.ac.jp"
Port "995 (for POP)" or "993 (for IMAP)"
Put a check mark to "This server requires an encrypted connection (SSL/TLS)".
Outgoing mail
Server "smtpv3.m.titech.ac.jp"
Port "465"
Select "SSL/TLS" for Encryption method
Click the "Next" button when you finish settings.
-
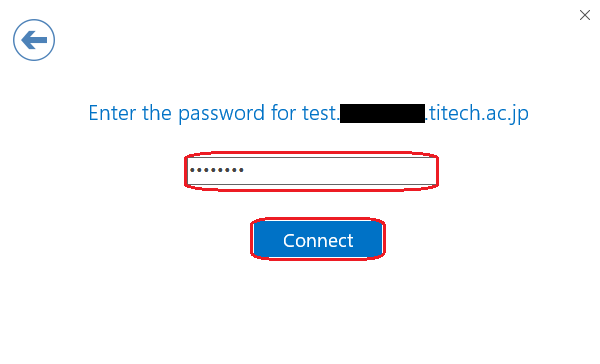
Enter the same password that you use to log in to the Portal with Matrix authentication.
Then click the "Connect" button.
-
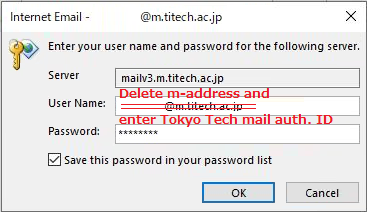
Delete your m-address and enter your Tokyo Tech mail auth. ID in the field "User Name".
-
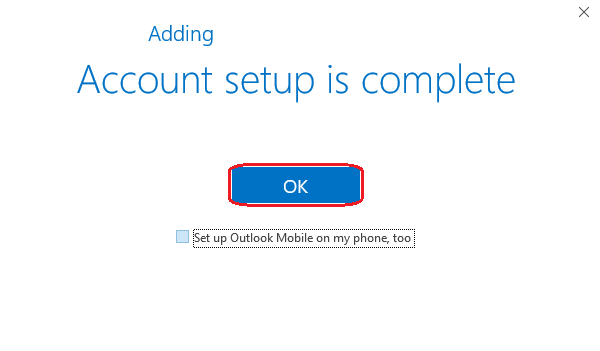
Click the "OK" button to complete your setup.
When using POP account
-
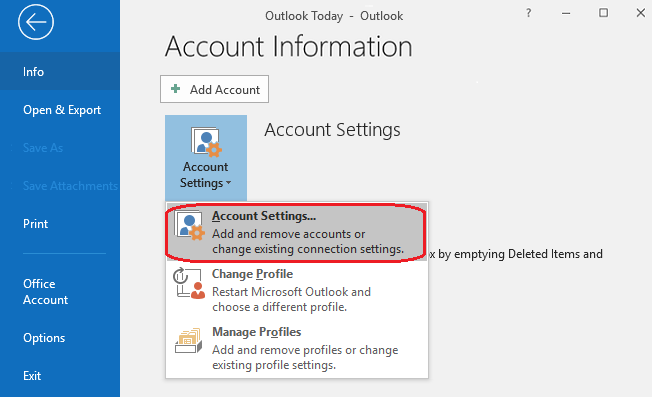
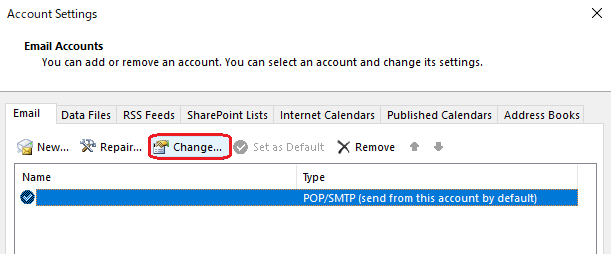
Go to "Account Settings" located in File and click the "Change..." button.
-
Click the "More Settings..." button.
-
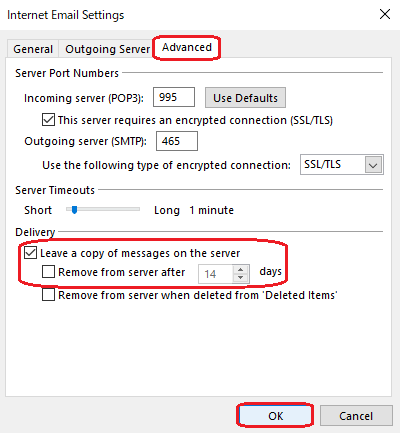
Please accordingly change the settings of "Leave a copy of messages on the server" located in "Advanced" tab.
When you confirm all settings are correct, click the "OK" button.
If your account doesn't start synchronizing your e-mail application with Webmail automatically, please manage folders (subscribe) as follows.
-
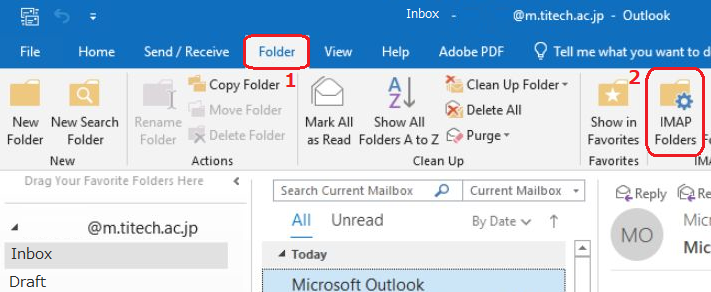
Open the "Folder" tab and click the "IMAP Folders" button.
-
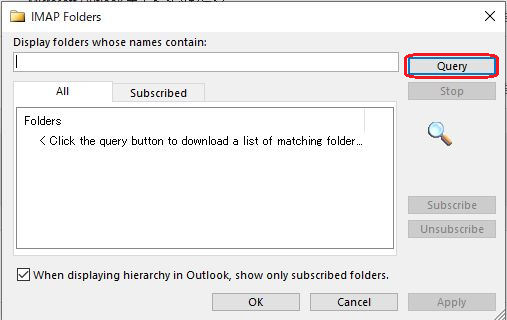
Click the "Query" button.
-
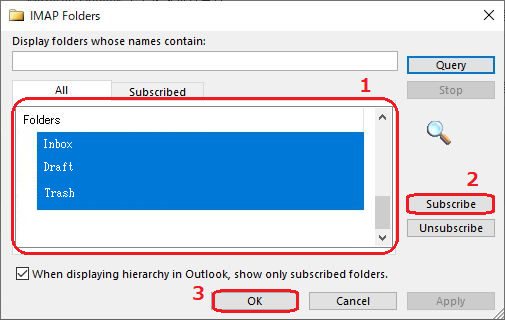
Select the folders that you want to receive and click the "Subscribe" button. Then, clic the "OK" button.
Go back to the "Setting up e-mail applications" page.